
Delegate automation rights in Azure Automation
If you have been following my blog for a while, you might remember two of my later posts which concerns the creation of AD users, both on-prem and in Azure AD. Those posts show the real strength with using Azure Automation and you will see how easy you can make life for yourself but also for your personnel. The first post about creating AD users in your on-prem AD can be found here and the other one about creating Azure AD users can be found here. So what have I done this time to make this post interesting? As I mentioned, the above posts are great in automating the user creation. But do you want to be the one as an admin or the author to sit all day and create users? Wouldn’t it be better if you could leave that to HR or someone else who can create the users as soon as they want it? Since I´m guessing that you would want to delegate this task, I´ve written this post so that you know how to do it. I will be using Role Based Access Control (RBAC) for Azure Automation to make all of this work.
Preparing for the delegation
Before I can delegate this task, I have to create a user to delegate the task to. In this case, Clay Morrow is the one who will have the honor of being used. I created his user account using the second post mentioned above and then I logged on to verify his identity. After that steps had been cleared I had a new user to assign this task to. I will show two ways you can delegate control, both individually and to groups of users.

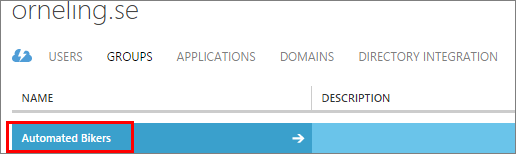
After the user had been created and verified I created the group “Automated Bikers” to which I will delegate the access later on. This group so far only involves Clay but here you can add whichever user(s) you want and they will all be part of the delegation.
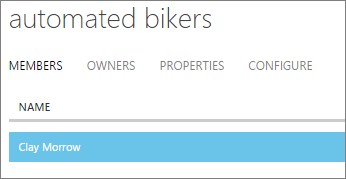
Just to show that Clay is a member, I took this screen shot.
Using RBAC to delegate the rights
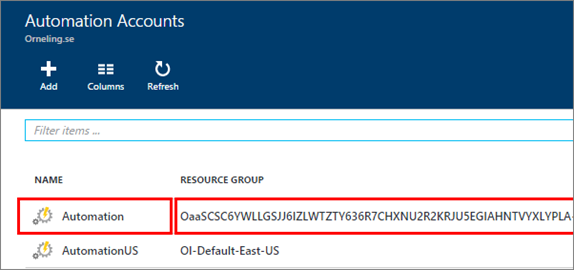
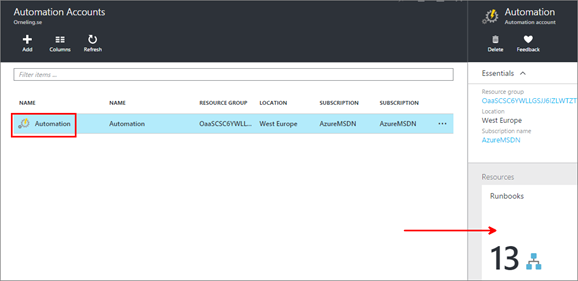
Before you do anything else, go into the new portal and then navigate to Automation Accounts. Look at the Automation account you want to use and copy the Resoruce Group name as this will help you in the next step.
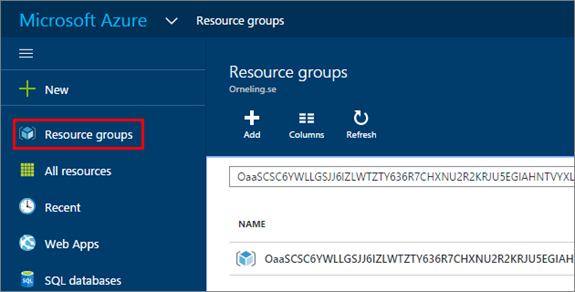
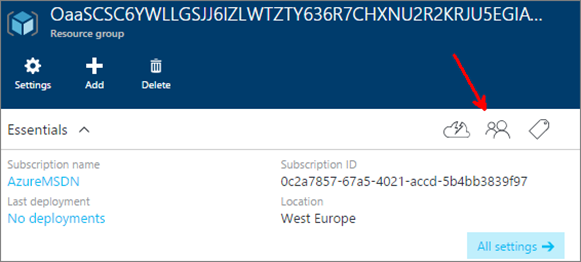
Step over to “Resource groups” instead and search for your resource group using the string you just copied. Click on the resource group to proceed.
Now, click the little “family” icon which I´ve pointed out below to delegate access. This will delegate control to the resources in the automation account. You will see more about the rights below.
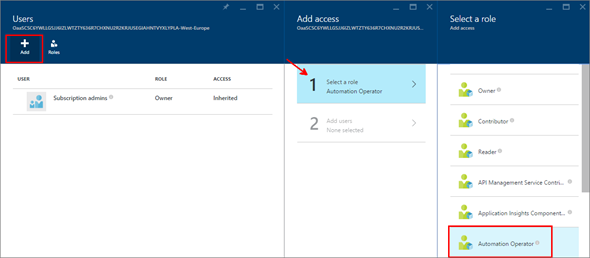
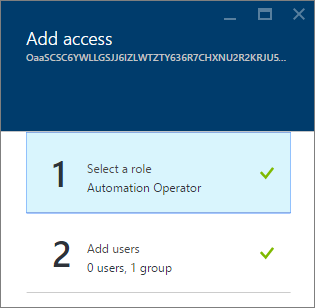
Click Add to delegate the access. Click “select a role” and then choose “Automation Operator”. This role allows you to Start, Stop, Suspend and Resume runbooks, meaning that you can still sleep good knowing that your job is safe and runbooks aren´t accidentally removed.
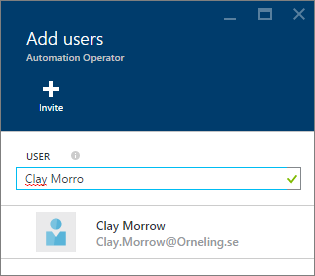
The next step involves adding users or groups. Just search for the user and he or she will be picked out from your Azure AD. In this case Clay show up just as expected. But since I want to delegate this role to a group instead, I just searched for the group instead.
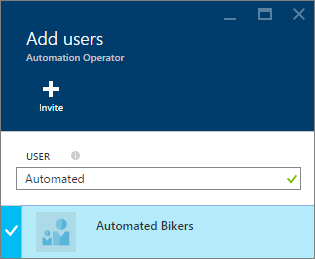
The group that I created earlier is found as well and I choose to use “Automated Bikers”.
Now, the role “Automation Operator” will be assigned to a single group in this case. Pretty easy, huh?
Trying it out
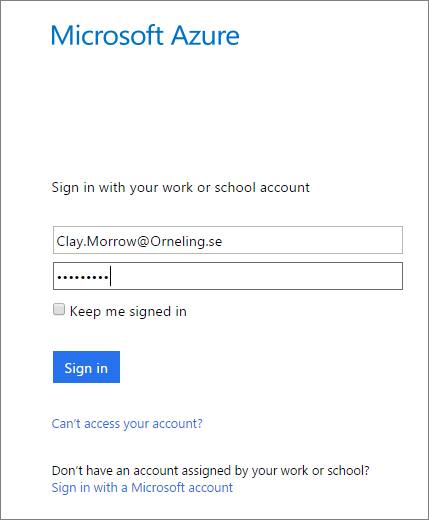
Now it´s time to let Clay do his own job instead of me having to create users all day. To try it out, I logged on to the new portal using Clay´s credentials.
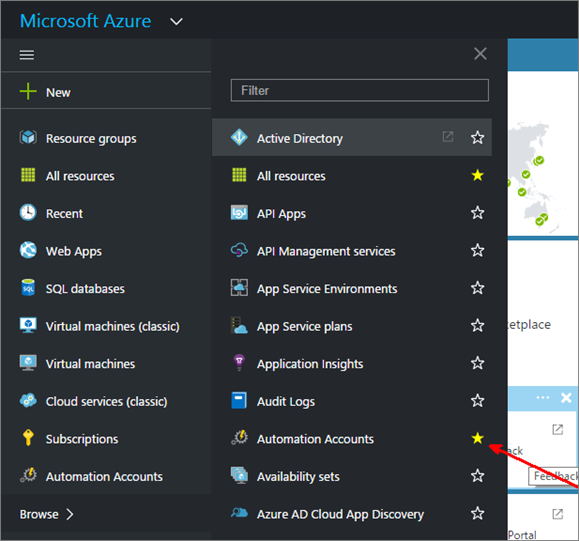
Now, this might at first seem kind of confusing. You might think that you only delegated the rights to the automation account? Yup, that´s correct and the user will only see these resources and nothing else. To quickly access the runbooks, click New and then you can pinpoint Automation Accounts to the menu seen to the left. If you want to, you can unpin all other areas to make life a lot easier for the user.
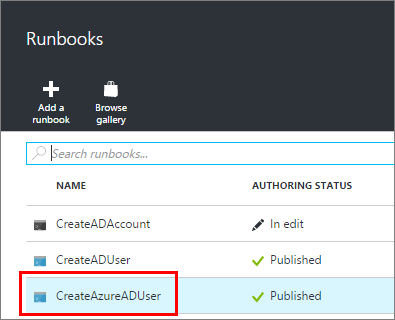
I navigated to the automation account and then moved over to runbooks.
As you can see here you can´t just delegate access to a single runbook, instead the user will see all runbooks in that automation account. This is something that I hope to see in a future update, if you would like that as well then check out my suggestion over on user voice for Azure Automation and put in some votes for it.
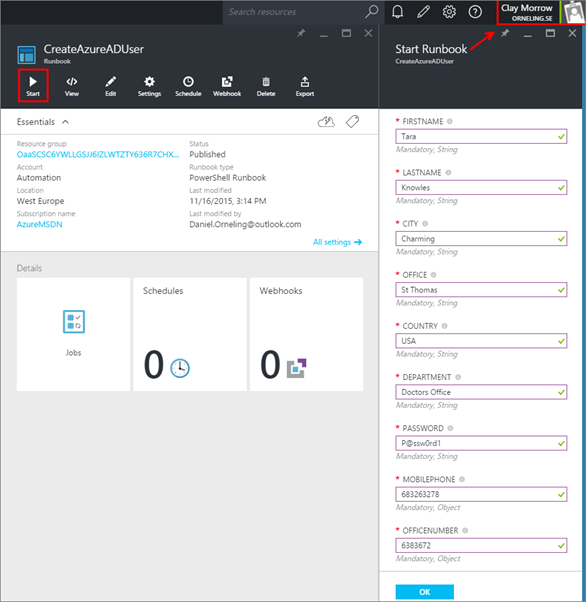
Logged on as Clay, I started the runbook with the input parameters such as first name and so on as you can see below. A minute or so later the runbook had completed with no errors.
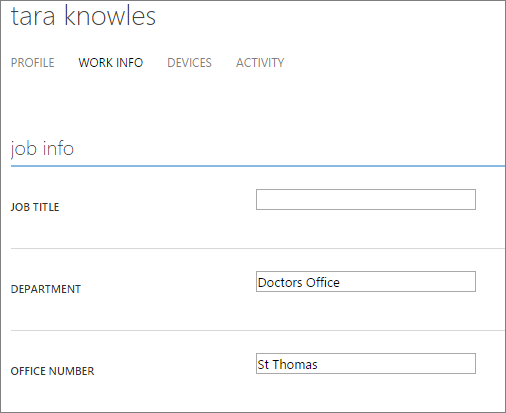
After heading back to the old portal I could see the new user that had been created. And just as you would expect from the tv show, Tara is the doctor. J

Summary
So, what I´ve shown here is how you in an easy way can make life easier for yourself but also for those in your company that orders new user accounts by letting themselves create the new user they want. As I mentioned a bit above, you can only delegate the control over the complete automation account and not the single runbook. This means that the delegated users can view credentials (not the passwords) and other assets in the account, but I think this will show up pretty soon as the RBAC feature gets more and more improvements. If you just like me want this to happen, then take the chance to vote it up on user voice as I mentioned above. I also owe Stanislav Zhelyazkov a thanks for pointing me in the right direction for this post.
If you have any questions about what I´ve done here, just leave a comment for me to answer.
Comments