
Onboarding Operations Management Suite: Part 2
In my last post which you can find here, I showed how you can connect your on-prem SCOM management group to Operations Management Suite. The procedure is the same as when you connected to Azure Operational Insights (before it was renamed yet again to OMS), but this time it was done from within the technical preview 2 of SCOM 2016.
Now that we´ve covered the SCOM connection part, let´s move over to the stand-alone connection part instead. OMS is a great solution both for small, medium and large companies with a varying amount of servers. If you don´t have SCOM implemented but still want to benefit from OMS, then keep on reading to find out how it´s done. Connecting a stand-alone server to OMS
When logged on to OMS, start by clicking the Settings tab and then move over to “Connected sources”. In my case, I still have the SCOM management group connected since the last post.
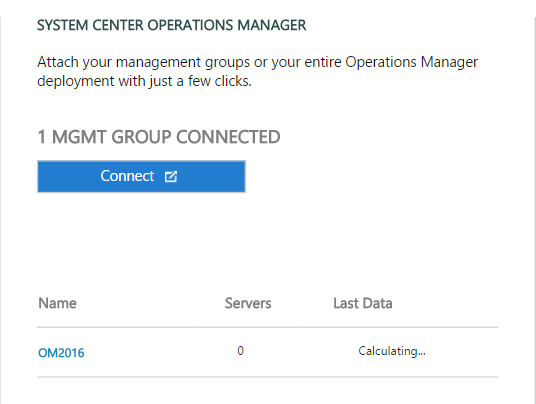
To the left of the screen above, find the below information containing your Workspace ID and your Keys. These are the values you need to connect the agent to OMS. Start by copying those values and download the agent. With OMS, we have two ways of connecting our stand-alone servers. The first way of connecting is to manually install the agent, and the other is to install it from within the Azure portal. You will see both ways below.

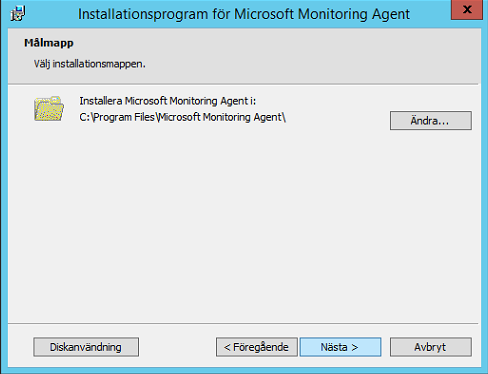
Once the agent is downloaded to the server, launch it and follow the below steps.
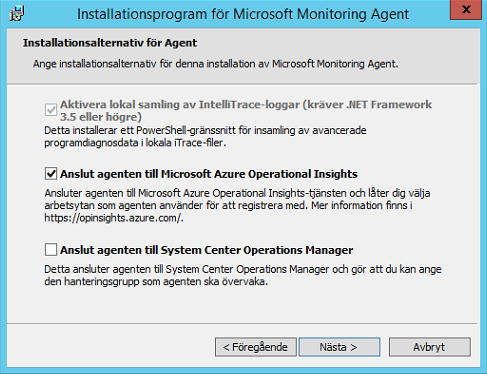
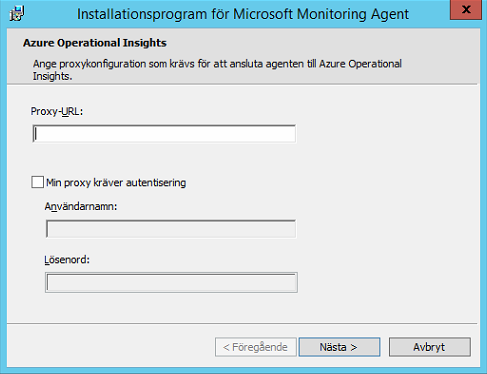
Place a checkmark in “Connect the agent to Microsoft Azure Operational Insights” (unless your swedish and see below text).
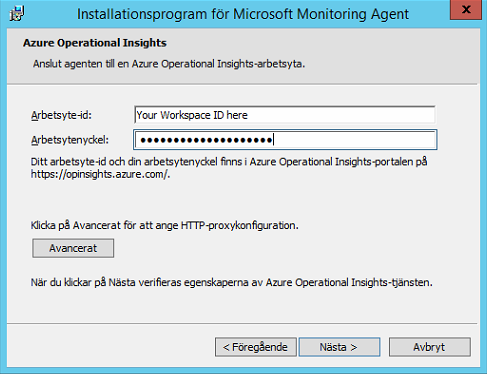
Paste your workspace id and the key as below. This is what is used to authenticate to OMS and to verify that the server is actually trusted. If you´re using a Proxy, click Advanced and move on. If your not using a Proxy, just click Next.
Enter the proxy details and move on.
From here on, just click next and choose whether to use Windows Update to update your agent or not.
Installation from Azure portal
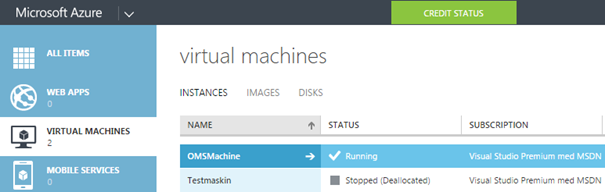
If you´ve created your workspace from within the Azure portal, then this is another possible way for you to connect a stand-alone server. Note that this only works with VM´s hosted in Azure and not on-prem servers who requires the manual process shown above. As you can see here, I´ve prepared a VM which I conveniently named OMSMachine.
Moving over to the Operational Insights pane in the portal, I get a summary of my different workspaces.

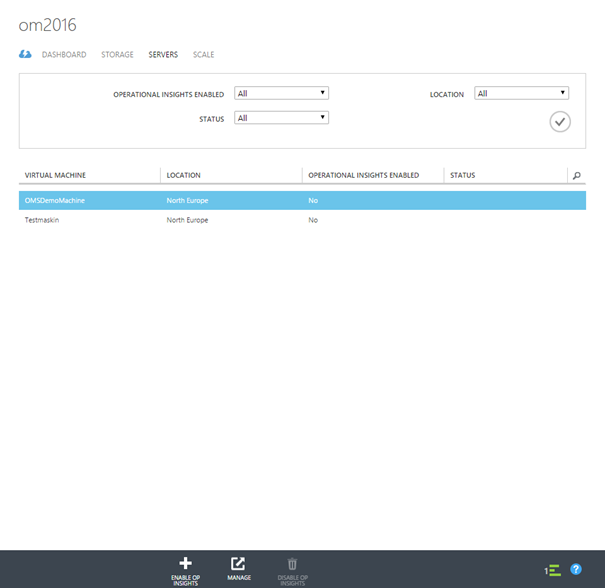
Select the workspace you want to add you server to and move over to the servers tab. Choose the server on which you want to Enable OpInsights and let Azure install the agent for you. This requires that the VM agent is installed (Yep, I did run into that since I never installed the VM agent upon creating the machine).
Verifying connectivity
Once the agent is installed on the server, move over to the control panel and look at the Microsoft Monitoring Agent. Clicking the Operational Insights tab, you will (hopefully) see what I see below.
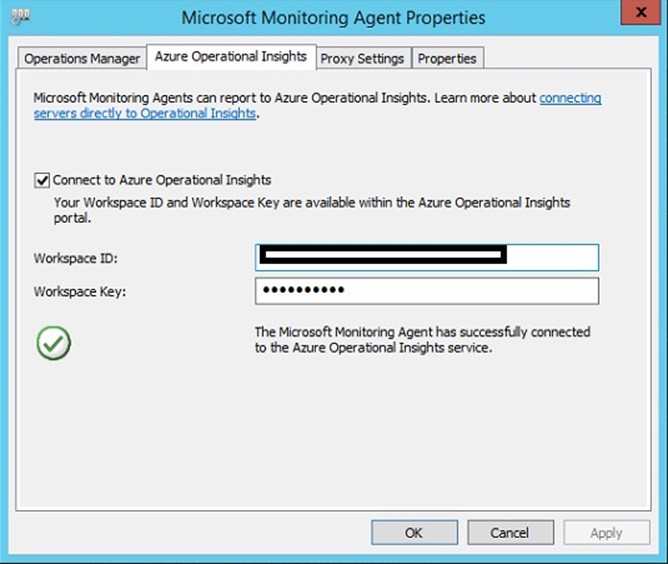
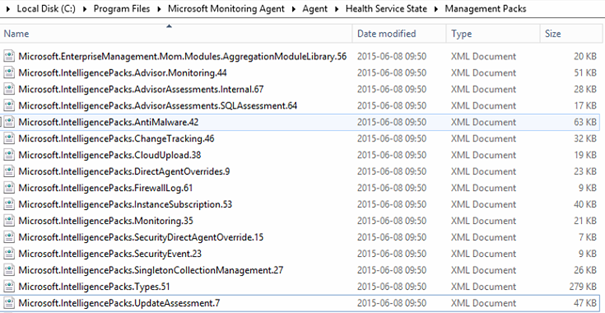
If you´re familiar to SCOM and the way the agent works, this will seem familiar as well. Once the agent connects it will receive the intelligence packs (Solutions) that you have enabled in OMS. Give it some time to start reporting to OMS and you will soon find your server in there as a connected computer.
Another way to find out more about the connection is to look in the registry. By checking at the following key you will find information on your workspace. Note that the Management Group name matches your workspace ID which you entered during the setup of the agent.
The registry key: HKEY_LOCAL_MACHINE\SYSTEM\CurrentControlSet\Services\HealthService\Parameters\Management Groups
The below search shows you all stand-alone connected servers.

| The search string used is MG:”00000000-0000-0000-0000-000000000001” | Measure Max(TimeGenerated) as LastData by Computer | Sort Computer and will give you the information shown above. |
To prove that my server really has started communicating with OMS, I put together the below search which points out a certain application which I added prior to installing the agent. In this case I can see that my server has been reviewed and I can now find out that Microsoft Report Viewer 2014 Runtime is installed. This is great because you can find out which computers are running a certain application by just pointing out the application name.

The search string used above is: Type=ConfigurationChange ConfigChangeType=Software and Computer:OMSDemoMachine SoftwareName=”Microsoft Report Viewer 2014 Runtime”
Summary
Okay, so now that we´ve covered how to connect our servers to OMS and have made some pretty basic searches I think I´ve been able to show both how easy it is to jump on to the OMS train but also some of the power of this tool. I will keep digging into OMS in coming posts so if you like what you see, keep your eyes open cause this isn’t the last post about OMS you will see on this blog J
Any questions or comments? Leave a comment below and I´ll get back to you.
Comments